Monday, October 5, 2015
[Minix][Tutorial 1] How to install Minix and setup VMware Player
This tutorial has been updated to conform with the 2015/2016 LCOM course program.
Hello again!
This is going to be the first tutorial of the Minix series. I will be running Ubuntu and I strongly advice you to do the same. Just install it alongside Windows.
So... shall we start?
Get Eclipse
If you don't have it already installed, you will need to get Eclipse. Check my tutorial on this.Get VMware Player
[Outdated] This is no longer used in LCOM. Check the Get VirtualBox section below.
If you are using Ubuntu as I told you, installing VMware Player can be tricky.
As you will see, the link above will get you a VMware-Player-xxx-version.bundle. How do we install something like this? Go to this site and follow step number 2.
Good, now you have VMware Player installed! :)
Get VirtualBox
If you are using Ubuntu as I told you, installing VirtualBox should be really easy - you just need to open the Terminal and run the following command:sudo apt-get install virtualboxIf you are running Windows - Really?? STOP USING IT..! Install Ubuntu now! - follow this link and download the version corresponding to your system.
Get Minix 3.1.8
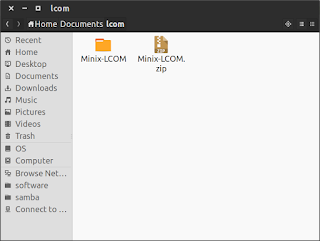
Download the Minix image - last updated in 2015/16 (may be outdated if you are viewing this in 2016/17 or beyond).Extract the download and place it somewhere. I put it here:

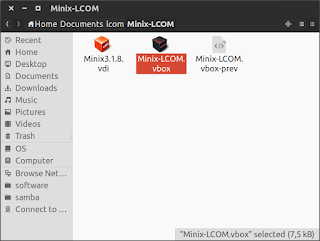
Now open Minix-LCOM and launch Minix-LCOM.vbox.

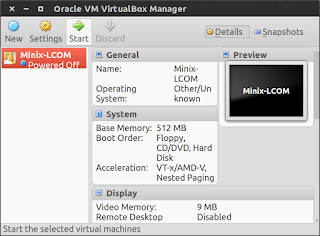
VirtualBox should have opened.
Now you just need to press Start in the top bar.

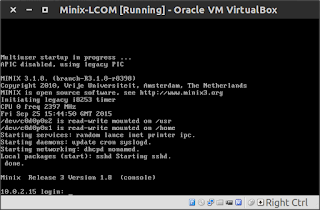
After pressing start, Minix should start to boot up. Give it a couple of seconds and you should be prompted with the login screen:

The login username and password are both: lcom
That's it for now!
On the next tutorial I'll show you the basic commands to use Minix and how to link Eclipse with the virtual machine to start programming stuff ! :)
Back to index
Click here to go back to the index post.
Subscribe to:
Post Comments (Atom)
No comments:
Post a Comment