Showing posts with label Ubuntu. Show all posts
Showing posts with label Ubuntu. Show all posts
Tuesday, October 6, 2015
How to connect two virtual machines through a virtual serial port
Introduction
After this tutorial you will have set up two linux virtual machines connected through a RS232 virtual serial port.VirtualBox will be the program used to run the virtual machines and both of them will be running Lubuntu, which is a very light version of Ubuntu.
I will be using Ubuntu during this setup, but the process is very similar if you are using Windows.
If you are not interested in creating a virtual serial port using virtual machines, you can emulate a virtual serial port in ubuntu itself using socat with a command similar to the following:
sudo printf "Opening virtual serial port... Done.\nPress CTRL+C at any time to close it.\n"; sudo socat PTY,link=/dev/ttyS0 PTY,link=/dev/ttyS4; printf "\nClosing virtual serial port... Done.\n"
Install VirtualBox
First, you will need to install VirtualBox. Open a terminal - CTRL+ALT+T - and enter the following command:sudo apt-get install virtualboxAfter this, you should have successfully installed VirtualBox:

Get Lubuntu
As I said before, both virtual machines will be running Lubuntu. Download the iso here. Select the PC 64bits - Standard image disc (lower left button):
Creating two virtual machines
Open VirtualBox and create a new virtual machine:
Name it lubuntu1 and select the type Linux and version Other Linux (64-bit):

Press next without modifying anything else and finally press create.
Repeat the same process to create a second virtual machine but this time call it lubuntu2.
Installing Lubuntu on the virtual machines
Click on the first virtual machine settings and go to the storage tab. Press the disk icon with a green plus sign:
Select choose disk:

Browse to and select the lubuntu image disk (.iso) you downloaded:

There should appear a new entry on the Storage Tree now:

Press OK and repeat for the other virtual machine.
After you are done, go ahead and start both virtual machines: the Lubuntu setup should start. Follow the onscreen instructions to install Lubuntu on the virtual machines. When the installation finishes, shutdown both virtual machines.
Connecting the virtual machines with a virtual serial port
Open both virtual machine settings and browse to the Serial Ports tab.Modify the Port 1 settings as follows - notice that serial port settings differ from lubuntu1 to lubuntu2:


Testing the virtual serial port
After having set both serial ports, boot both virtual machines.In order to test the connection, install gtkterm on both machines by executing the following command:
sudo apt-get install gtktermAfter installing gtkterm, open a terminal on both machines and type:
sudo gtktermIf everything was set up correctly, as soon as you type anything on one terminal, the terminal on the other virtual machine should output what you typed.
Script to find repositories with unstaged/uncommited changes
I found this nice script that I often use to check if I did not forget to push the latest changes to git.
Here are some instructions on how to use it:
And here is the snippet you need to save:
Read more »
Here are some instructions on how to use it:
- Save the snippet below to a file and name it something like multipleStatus.sh;
- Place the file on the same folder of your repositories;
- To run the script, browse to that folder and type:
source multipleStatus.sh; find-dirty
And here is the snippet you need to save:
#!/bin/bash

function unstaged_changes() {
    worktree=${1%/*};
    git --git-dir="$1" --work-tree="$worktree" diff-files --quiet --ignore-submodules --
}

function uncommited_changes() {
    worktree=${1%/*};
    git --git-dir="$1" --work-tree="$worktree" diff-index --cached --quiet HEAD --ignore-submodules --
}

function find-dirty () {
    for gitdir in `find . -name .git`;
    do
        worktree=${gitdir%/*};
        if ! unstaged_changes $gitdir
        then
            echo "unstaged     $gitdir"
        fi

        if ! uncommited_changes $gitdir
        then
            echo "uncommitted  $gitdir"
        fi
    done
}
How to install SICStus on Ubuntu
Installing SICStus
In order to download and install SICStus, you will need a license. If you are a student at FEUP, you can use the ones provided to the FEUP community. All the required keys are located in the software repository, so go ahead and connect to VPN-FEUP. If you do not know how to do this, check my previous tutorial.Afterwards, open following text file:
//software/Publico/Outros/Departamentos/DEI/Sicstus_Prolog/Sicstus_Prolog_4.3/Sictsus_Prolog_Instrucoes_para_download_e _codigos_estudante.txt

Go to SICStus Prolog download page and download the latest version for your system:

When prompted for a user and password, use the ones located on line number 7 from the previously opened text file:


Press CTRL+ALT+T to open the Terminal, navigate to the Downloads folder and extract the downloaded file using the following comand:
cat sp-4.3.0-x86_64-linux-glibc2.5.tar.gz | gzip -cd |tar xf -

Navigate to the extracted folder and run SICStus installer using the command:
sudo ./InstallSICStus

The installer should start. When prompted with the question below, press Enter.

Press Enter again to install SICStus in /usr/local/sicstus4.3.0.

Press Enter again to confirm:

Now you will be prompted to enter some keys. Go to the text file we have previously opened: lines 54 to 57 have the information you need.
Afterwards, since we will not need any extra modules, answer no to the next four questions. In the previous questions, we pressed Enter to answer yes, but to answer no you really need to type no and only then press Enter.


When the installer finishes, it should look something like this:

Installing rlwrap
We are almost done. In order to use the arrow keys and history in SICStus, we will need to install rlwrap: execute the following command on the terminal:sudo apt-get install rlwrap
Creating a link to SICStus
At this point, in order to run SICStus, we need to open the terminal, navigate to /usr/local/sicstus4.3.0 and only then run sicstus. This is quite exhausting.At some point, it will be useful to open the terminal and be able to execute SICStus right away just by typing sicstus - this is very easy to achieve.
Open the terminal and type the following command:
sudo ln -s /usr/local/sicstus4.3.0/bin/sicstus /usr/bin/sicstusAfter that, you can type sicstus from anywhere and SICStus will start:

To exit SICStus, press CTRL+D.
Running SICStus
You may notice that when you run SICStus, you won't be able to use the arrow keys and weird stuff like ^[[A will start to come up instead:
That's really annoying and that's why we installed rlwrap. The correct way to launch SICStus is to type the following on the terminal:
rlwrap sicstusThat way you will be able to use the arrow keys like expected:

How to install Eclipse Luna (4.4) on Ubuntu
Installing Eclipse
- Download Eclipse from here;
- Extract it. You will end up having a folder named eclipse, copy it;

- Press CTRL + ALT + T to open Terminal;
- Type the command:
sudo nautilus
and then insert your password;
- Browse to /opt/ and paste the extracted folder there.


Creating a shortcut
- Press CTRL + ALT + T to open Terminal;
- Type:
sudo ln -s /opt/eclipse/eclipse /usr/bin/eclipse
sudo gedit /usr/share/applications/eclipse.desktop
- After these commands, gedit (ubuntu's default text editor) should have opened. Copy this and paste it there:
[Desktop Entry]
Name=Eclipse
Type=Application
Exec=/opt/eclipse/eclipse
Terminal=false
Icon=/opt/eclipse/icon.xpm
Comment=Integrated Development Environment
NoDisplay=false
Categories=Development;IDE;
Name[en]=Eclipse
X-Desktop-File-Install-Version=0.22
- Save the text file and close gedit;
- This should have successfully created a shortcut. You may have to log off and back in for it to show up.


How to connect to FEUP VPN using Ubuntu
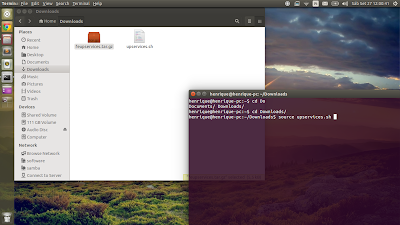
Download this script made by CICA to install all the required tools easily. Right-click it and select Extract Here.
Press CTRL+ALT+T to open the Terminal. Navigate to the Downloads folder and then enter the command: source upservices.sh
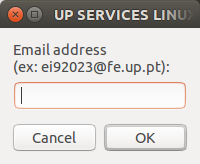
After entering the command, the script will begin and a couple of windows will appear. Input your email:
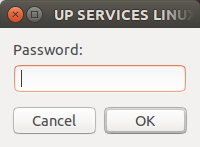
Input your SIGARRA password:
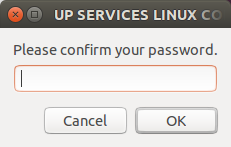
Confirm your SIGARRA password:
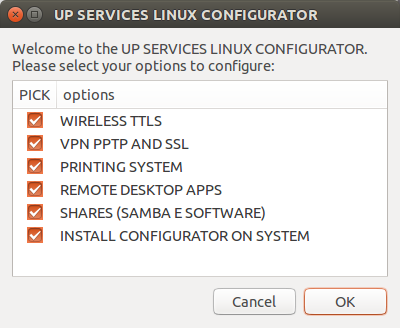
Press OK to install all services:
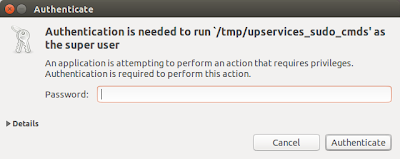
Input your Ubuntu account password:
Press OK:
You may close this window:
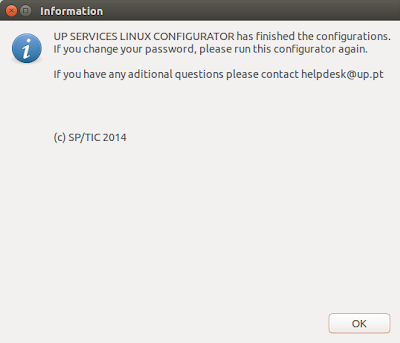
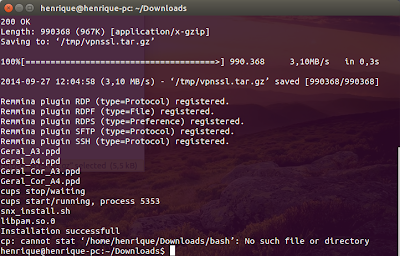
And that's it, the script should be finished:
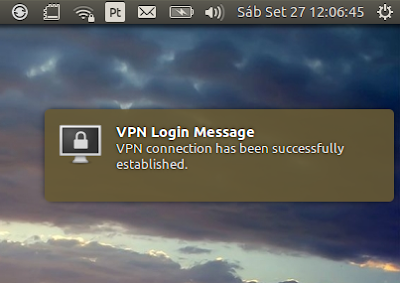
In order to connect to FEUP VPN, press the Wi-Fi status bar icon. Under the list of networks, there should be a submenu named VPN Connections and under that VPN-FEUP. Press VPN-FEUP and a connection will be attempted. When a connection is obtained, the following notification will appear:
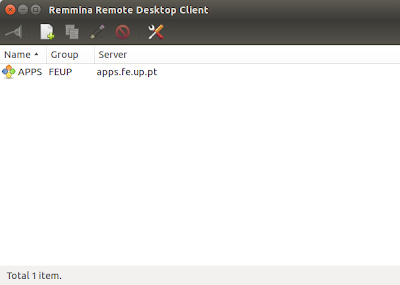
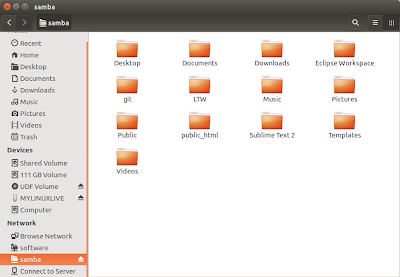
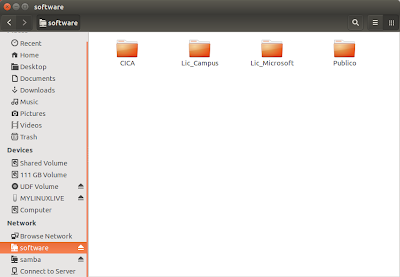
You can now access FEUP software repository, samba, and even delegate print jobs to FEUP printers:
Read more »
Press CTRL+ALT+T to open the Terminal. Navigate to the Downloads folder and then enter the command: source upservices.sh

After entering the command, the script will begin and a couple of windows will appear. Input your email:

Input your SIGARRA password:

Confirm your SIGARRA password:

Press OK to install all services:

Input your Ubuntu account password:

Press OK:

You may close this window:

And that's it, the script should be finished:

In order to connect to FEUP VPN, press the Wi-Fi status bar icon. Under the list of networks, there should be a submenu named VPN Connections and under that VPN-FEUP. Press VPN-FEUP and a connection will be attempted. When a connection is obtained, the following notification will appear:

You can now access FEUP software repository, samba, and even delegate print jobs to FEUP printers:


Subscribe to:
Comments (Atom)